Pre-coating Pipe Weld Inspection
Key features
Extra wide scanning of coating area
Feature height assessment
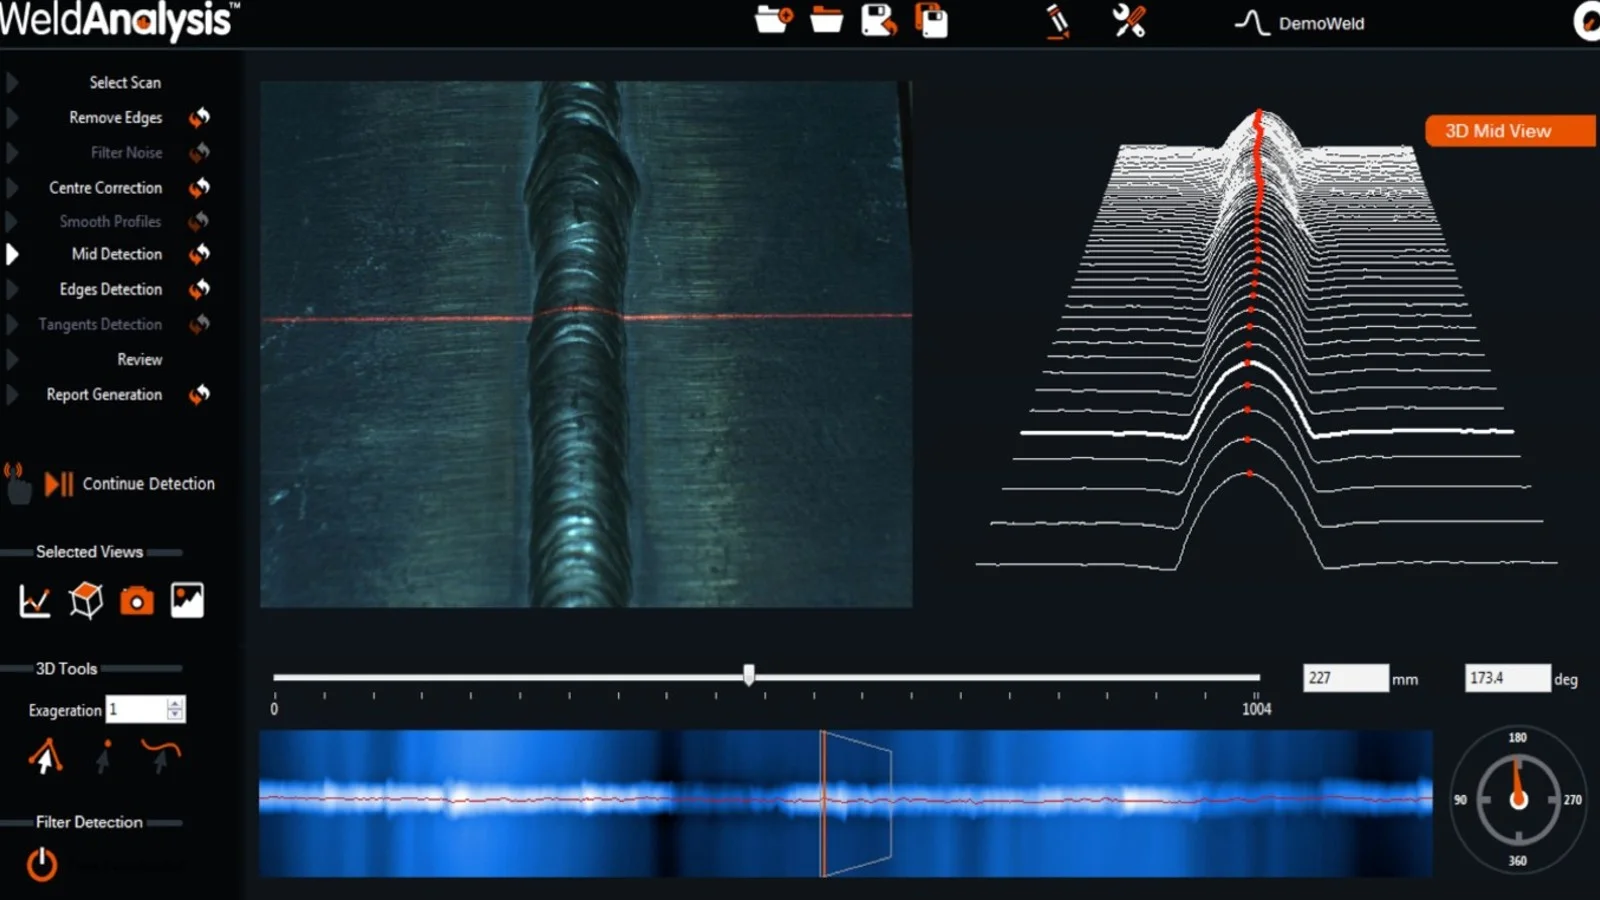
Visual and 3D images
Pass/ fail assessment for immediate remedial action
Rapid assessment enables early detection of issues and reduces pipelay vessel downtime
Reduced risk of in-service pipe failure
Improved pipeline integrity
Corrosion defence
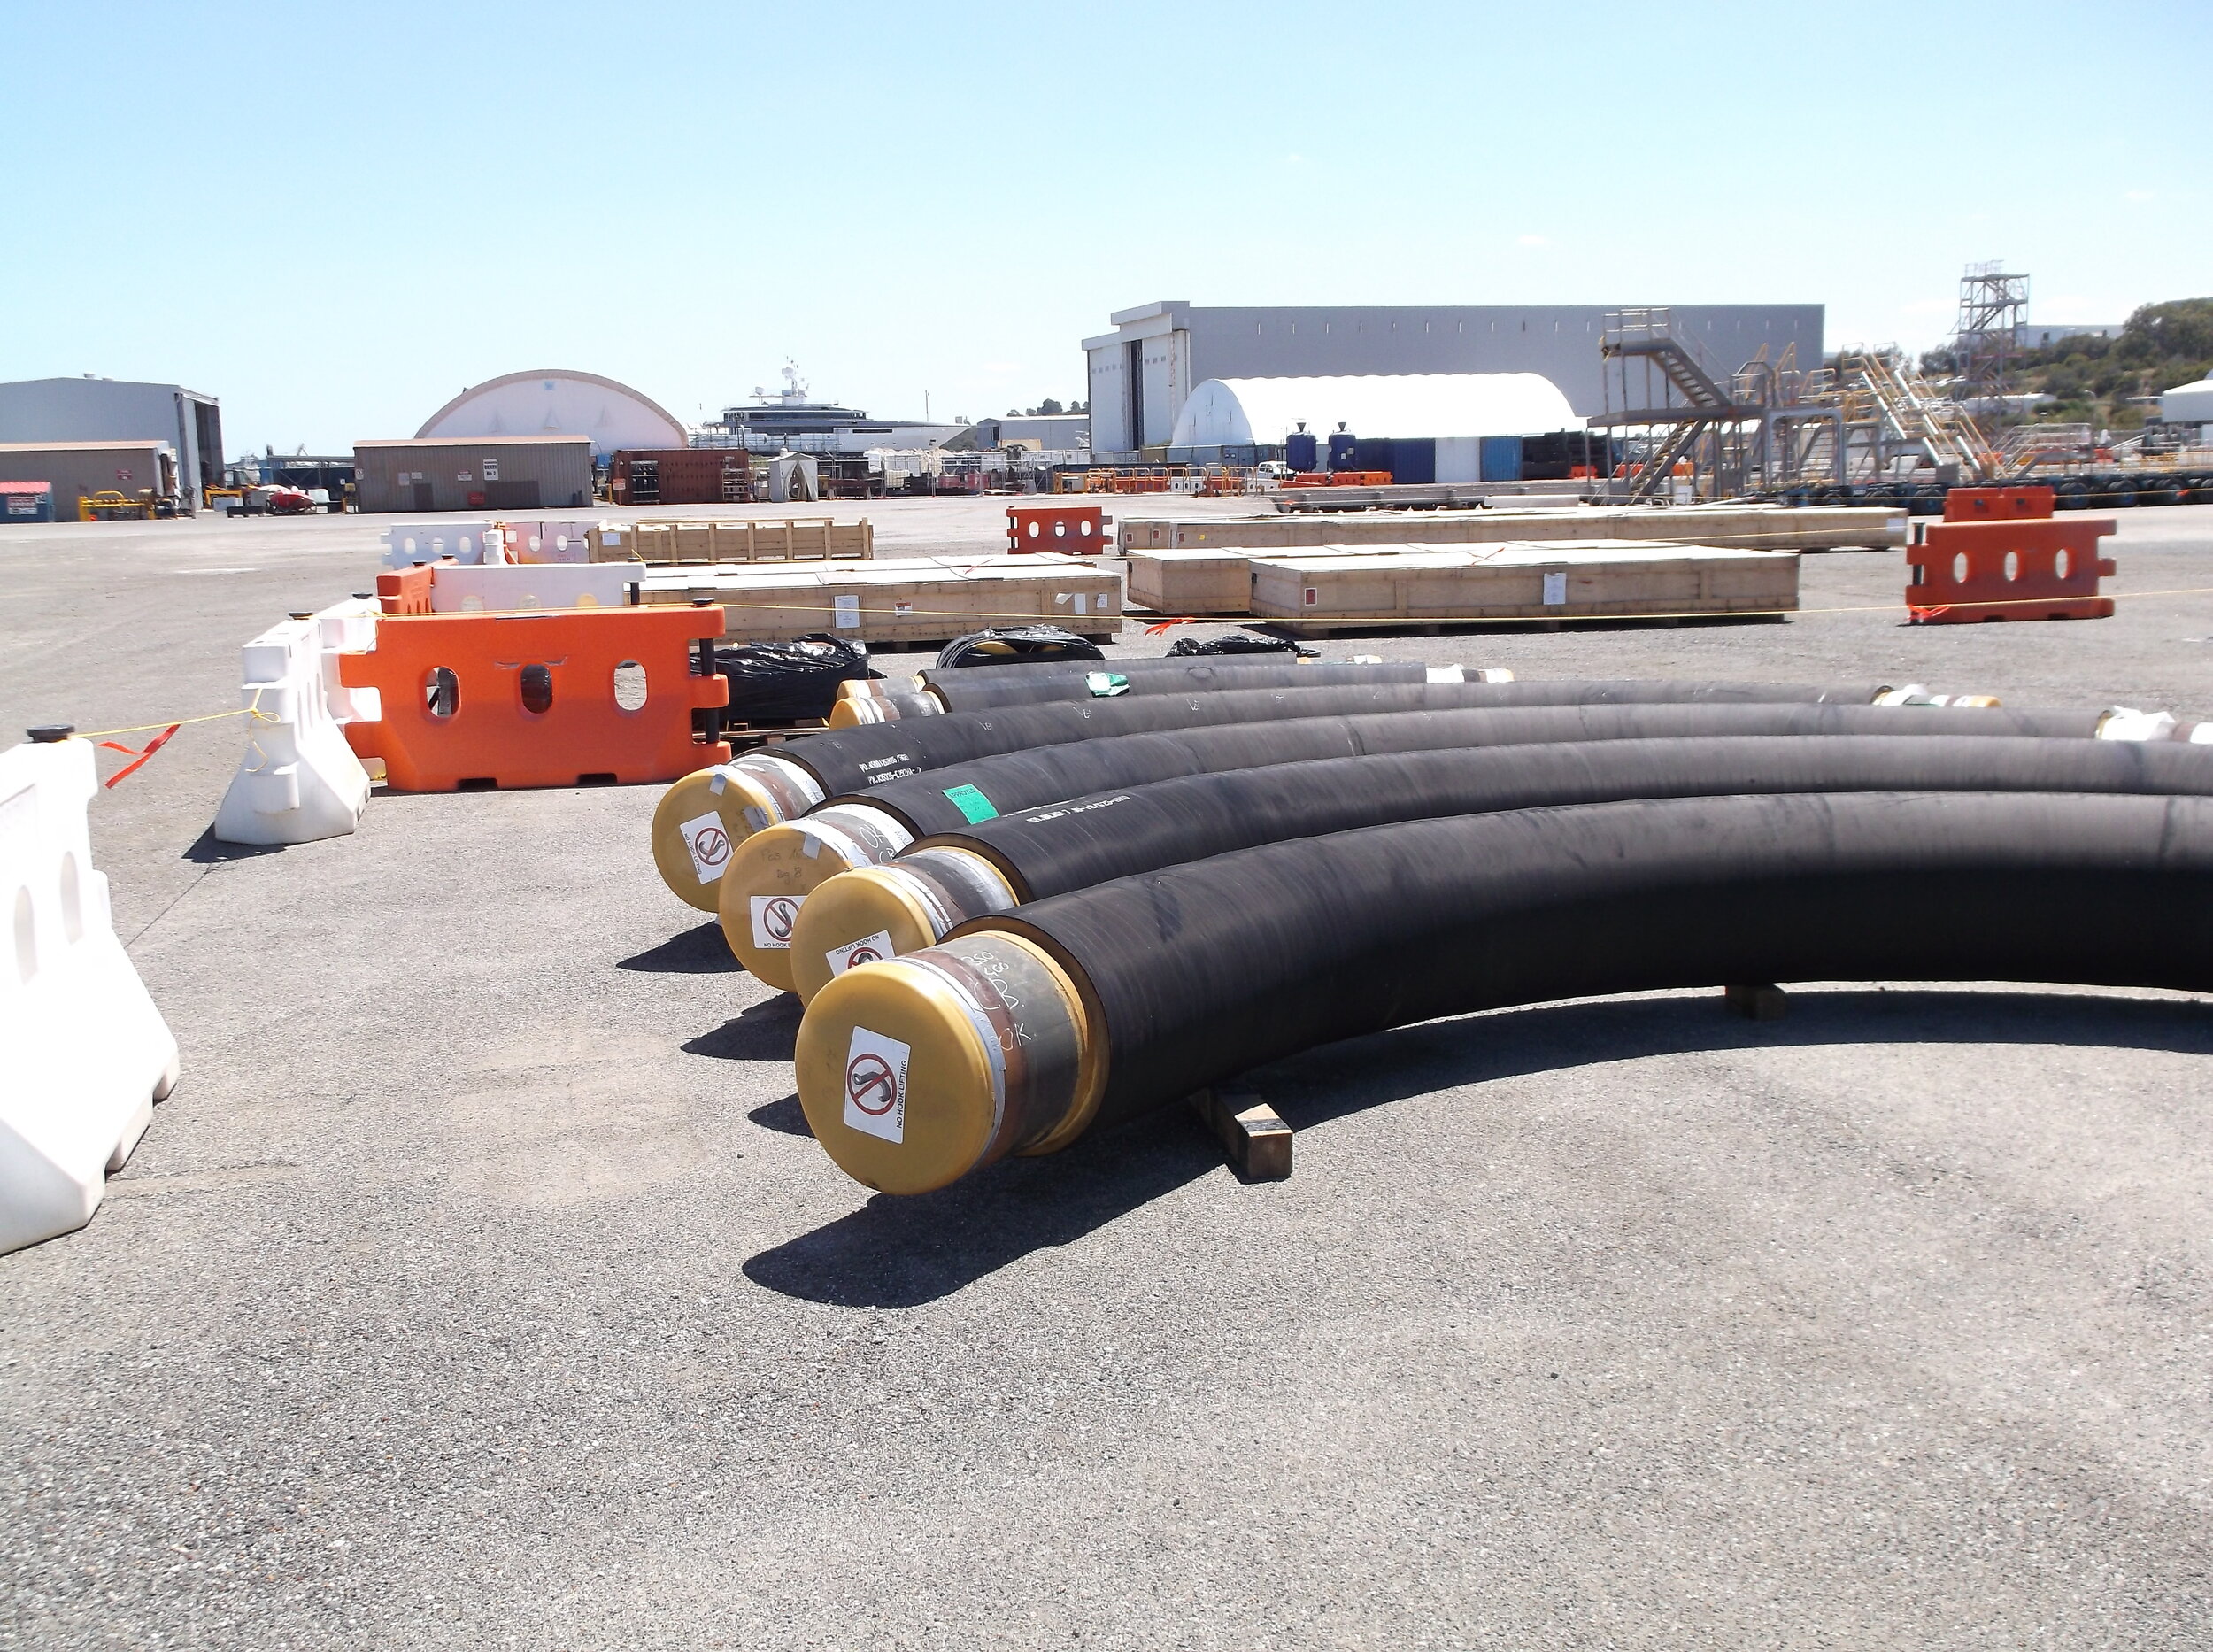
Internal corrosion is a major risk in pipelines and painting the interior can prevent it starting. Although coating the pipe as it is manufactured is easy, it is more difficult to coat the pipe in the area where it will be welded. Pipes are usually uncoated for approximately 50 mm at each end to allow for cleaning and grinding prior to welding. The welding process can cause molten balls of weld spatter to adhere to the pipe wall, forming protrusions which can prevent the spray coating from completely covering the area. The weld itself may also have an uneven surface that is difficult to coat. This is where corrosion sites can form, creating areas of weakness which may lead to eventual pipe failure.
Camera and laser 3D imagery
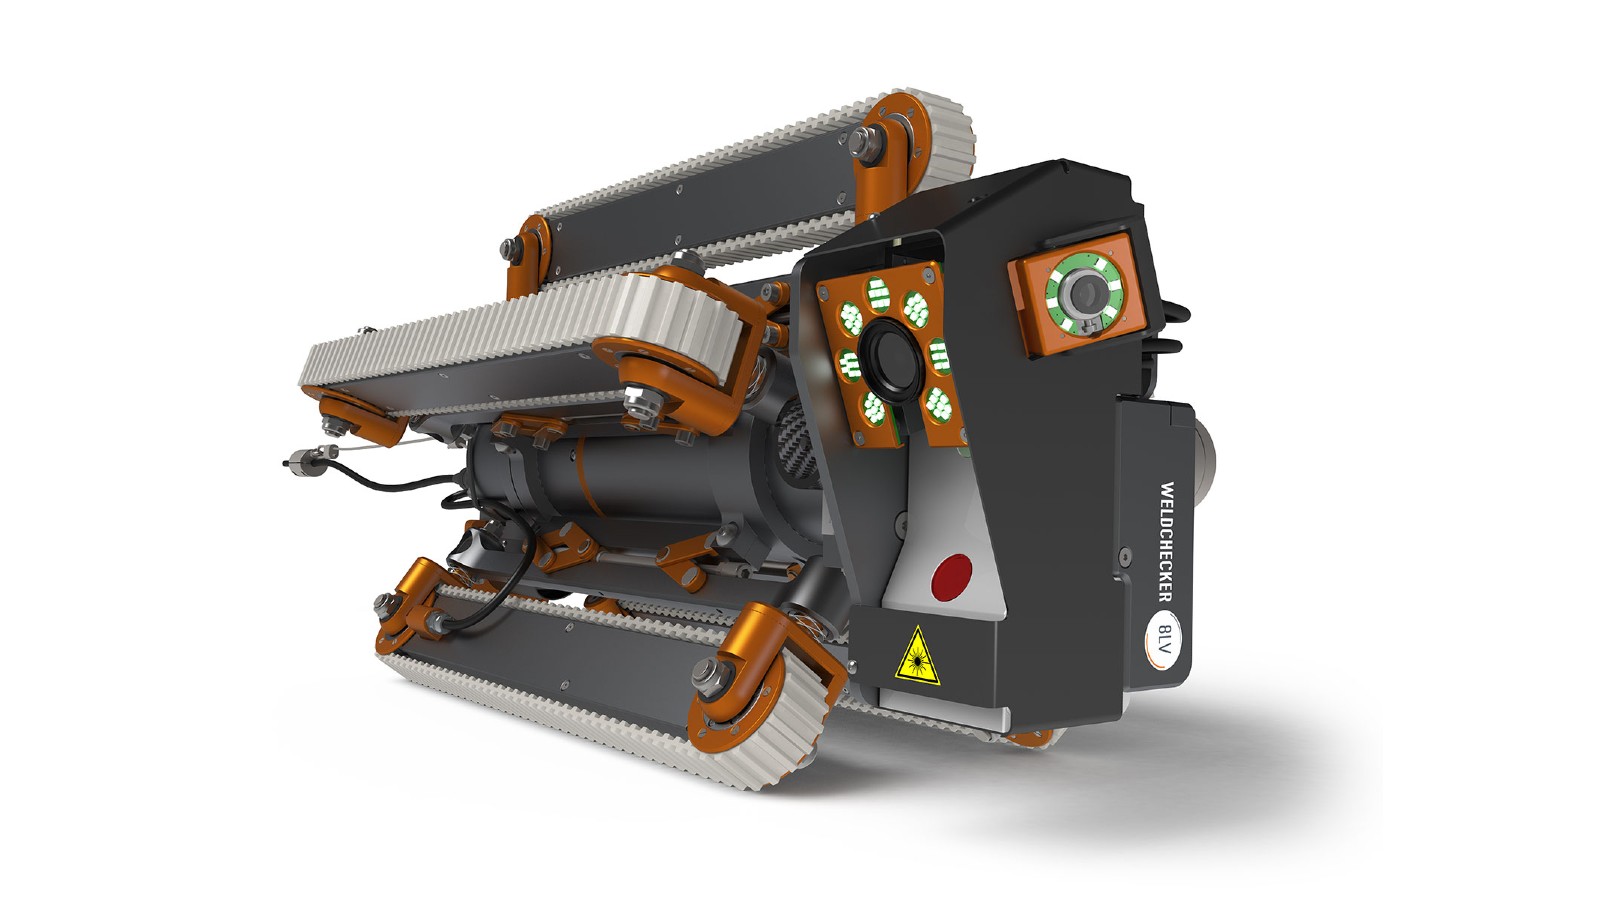
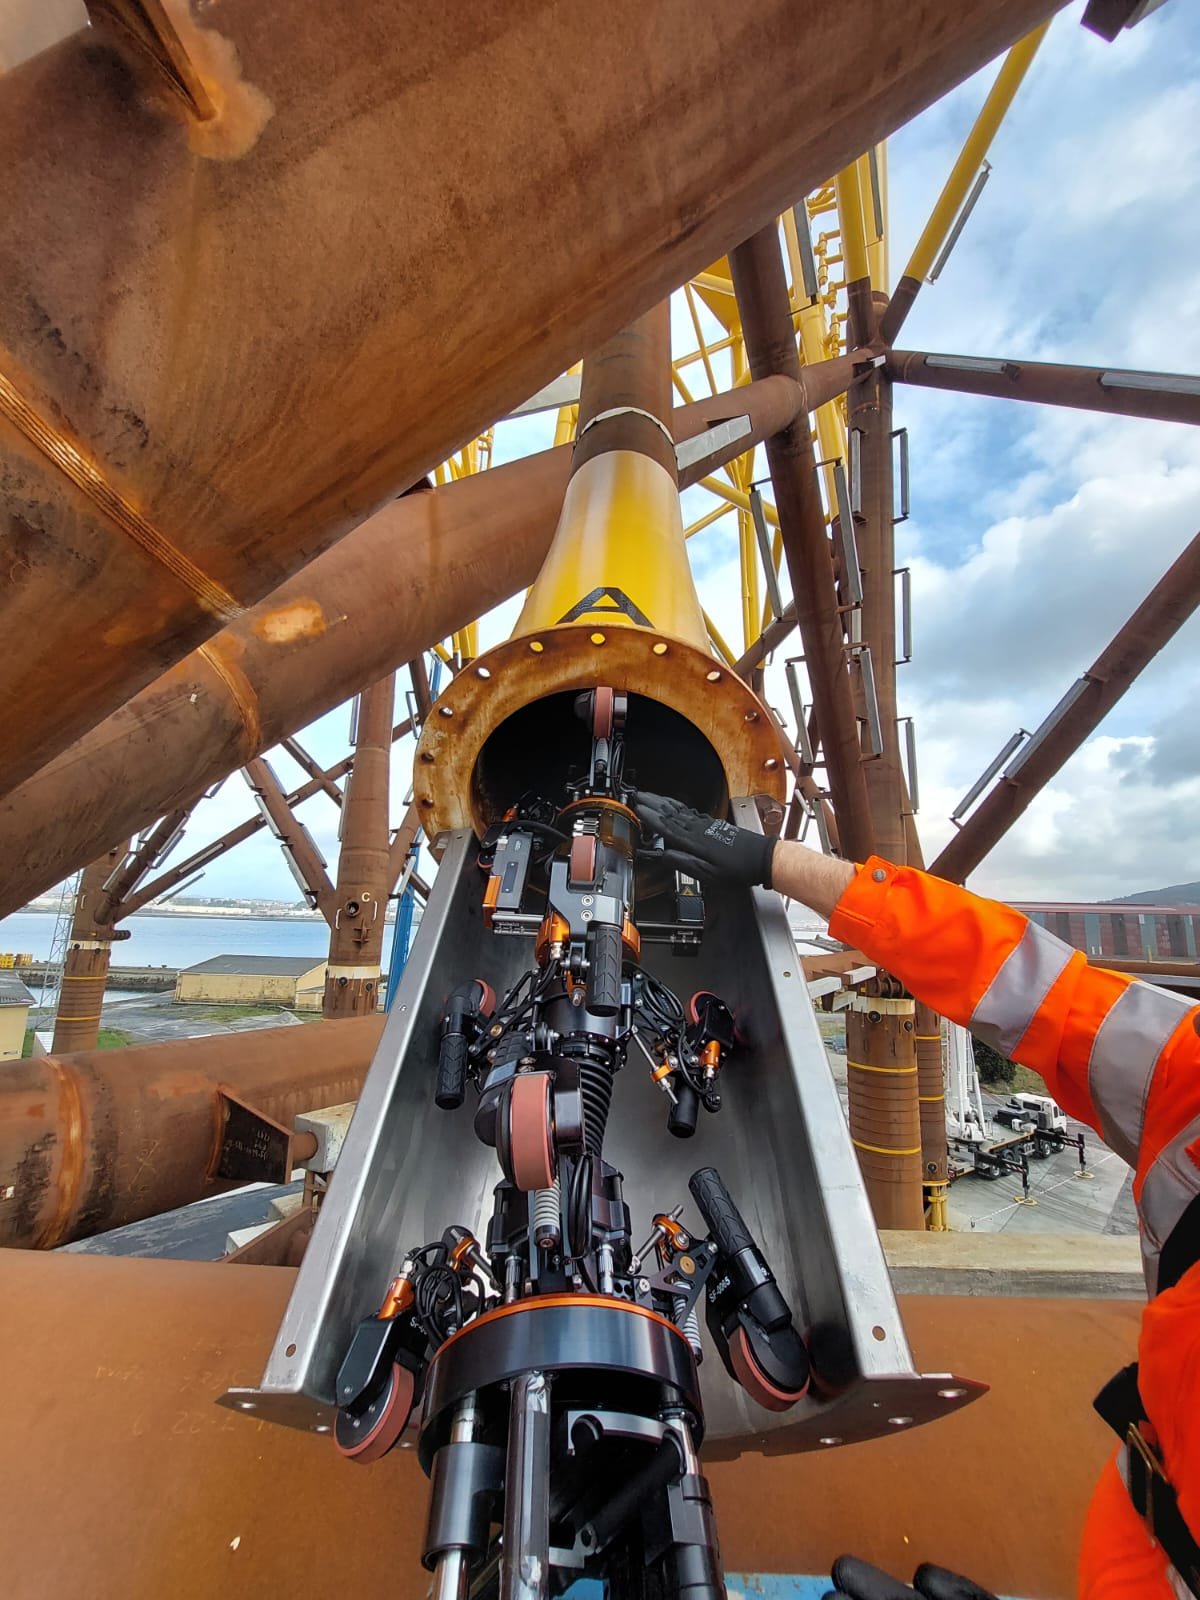
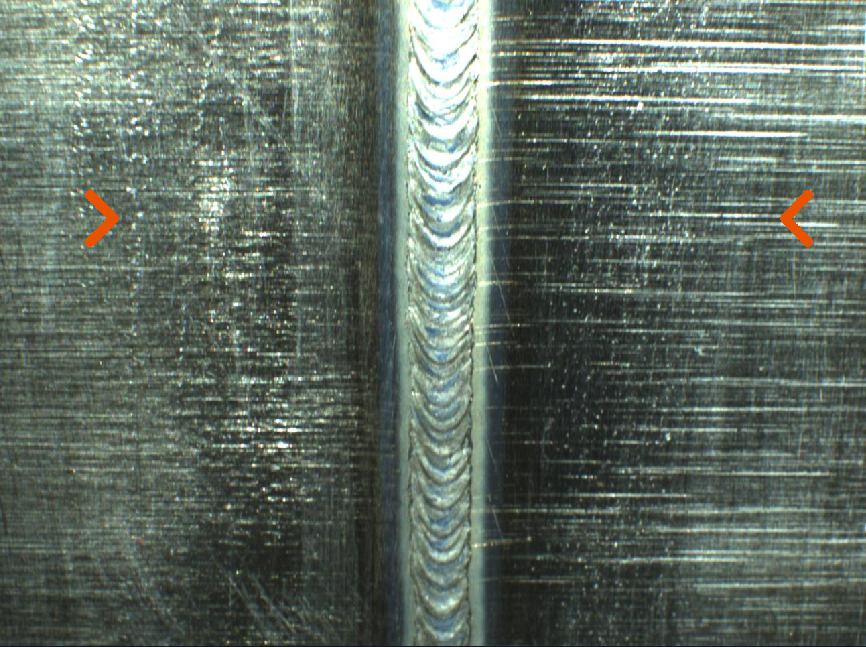
To identify and prevent problems OMS can review the coating area for spatter or a weld profile that does not meet specification. Our system uses a camera to provide visual imagery and a stripe laser to measure feature height. This co-ordinated approach provides vital information to identify and quantify potential problems that may occur during the coating process.
At OMS we use the latest in camera and laser technology. Our system uses a wider laser beam to scan the weld and both painted sides. We collect a synchronised set of images and laser scans that provide necessary information for the pass/ fail test.
Reduced risk of production delays
With many years of experience in the oil and gas industry OMS understands the importance of working quickly and safely while avoiding project delays. Inspection hold-ups can cause significant project delay because the pipelaying process can only proceed once the weld area has been passed for coating. Our system operates on-board a pipelay vessel offshore close to the time of welding, when the weld itself is still very hot. It sends information to operators and inspectors rapidly, allowing quick pass/fail decisions to be made.
Meeting weld specifications
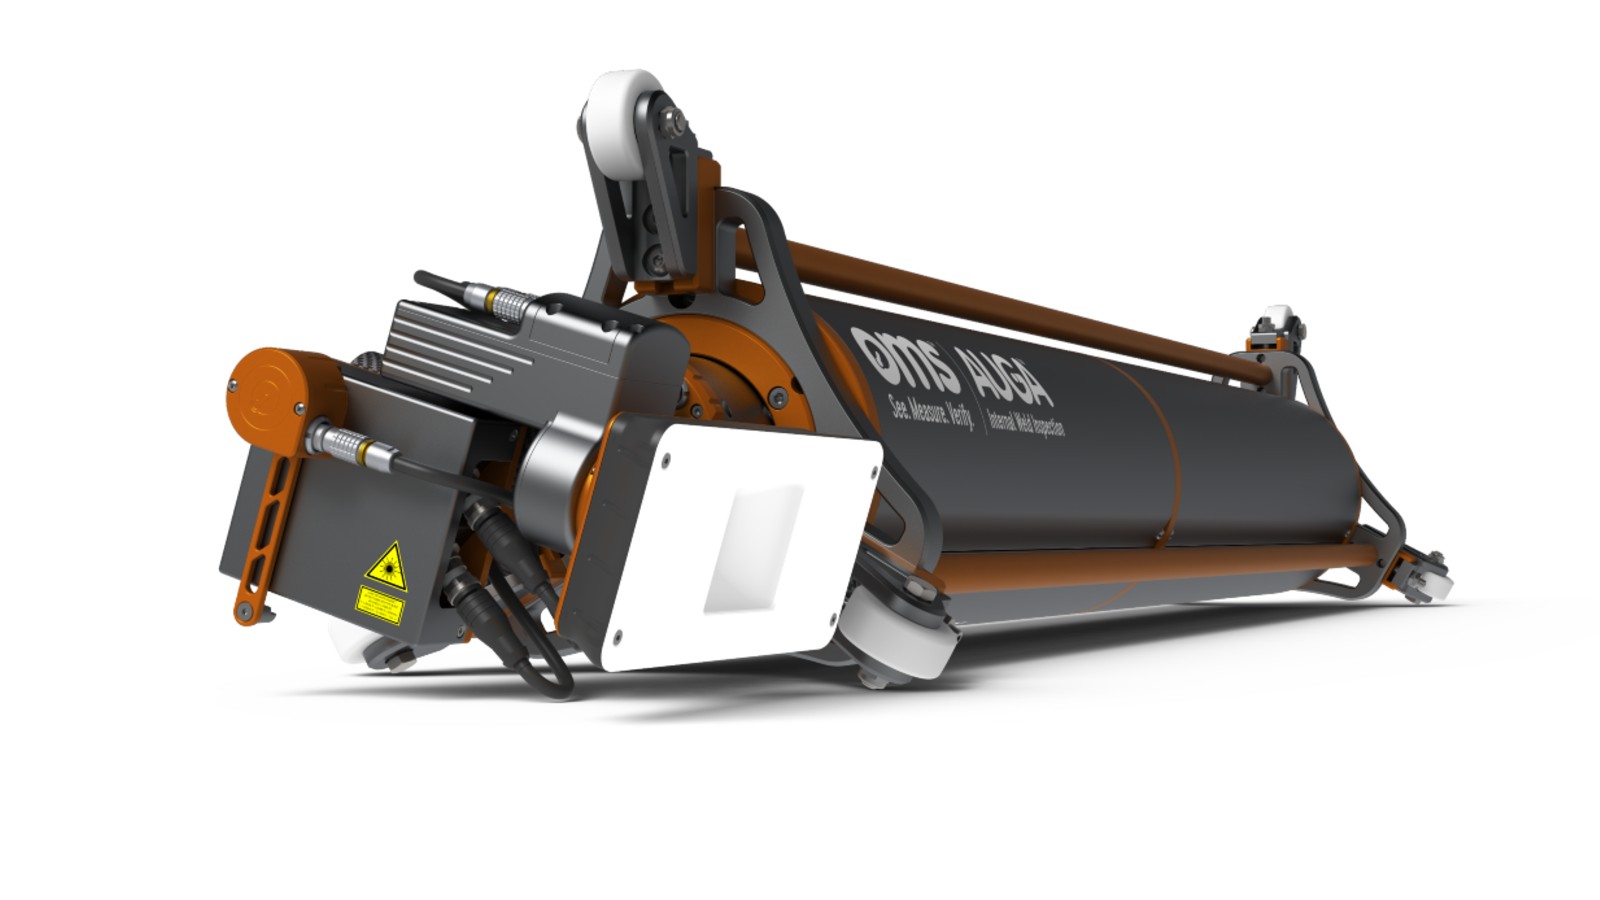
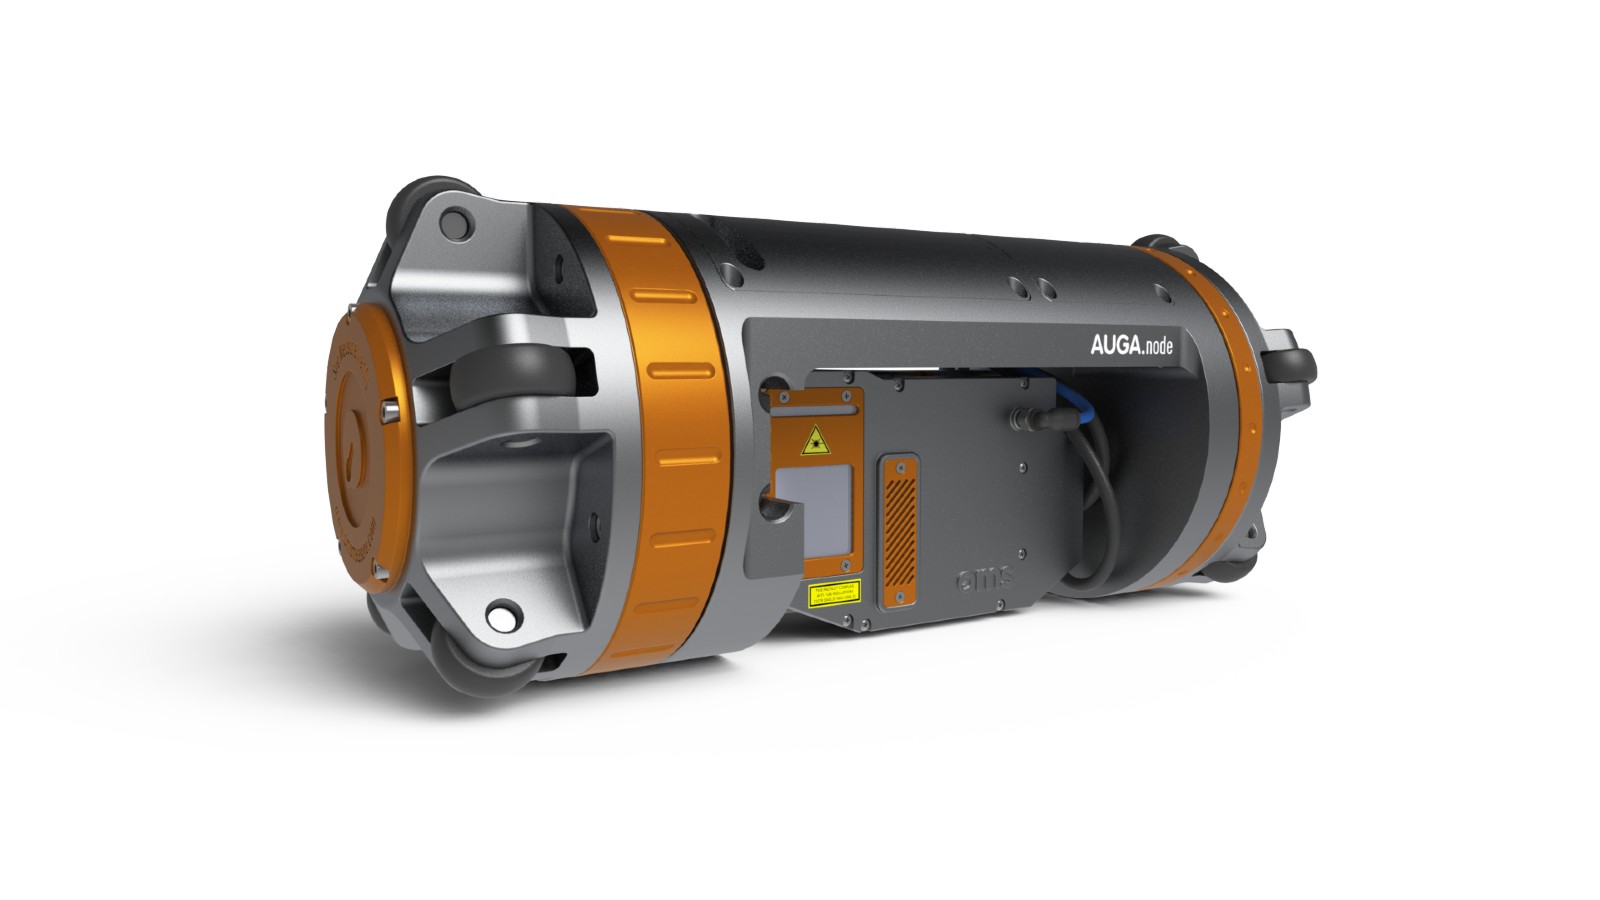
The system finds the weld by traversing up and down the pipe while it is connected to the internal line-up clamp (ILUC). Information produced from the laser and camera system is sent from the device to qualified weld/coating inspectors who check for any problems visually and dimensionally. If specifications are met welding can continue or if problems are identified then action can be taken to rectify them.


